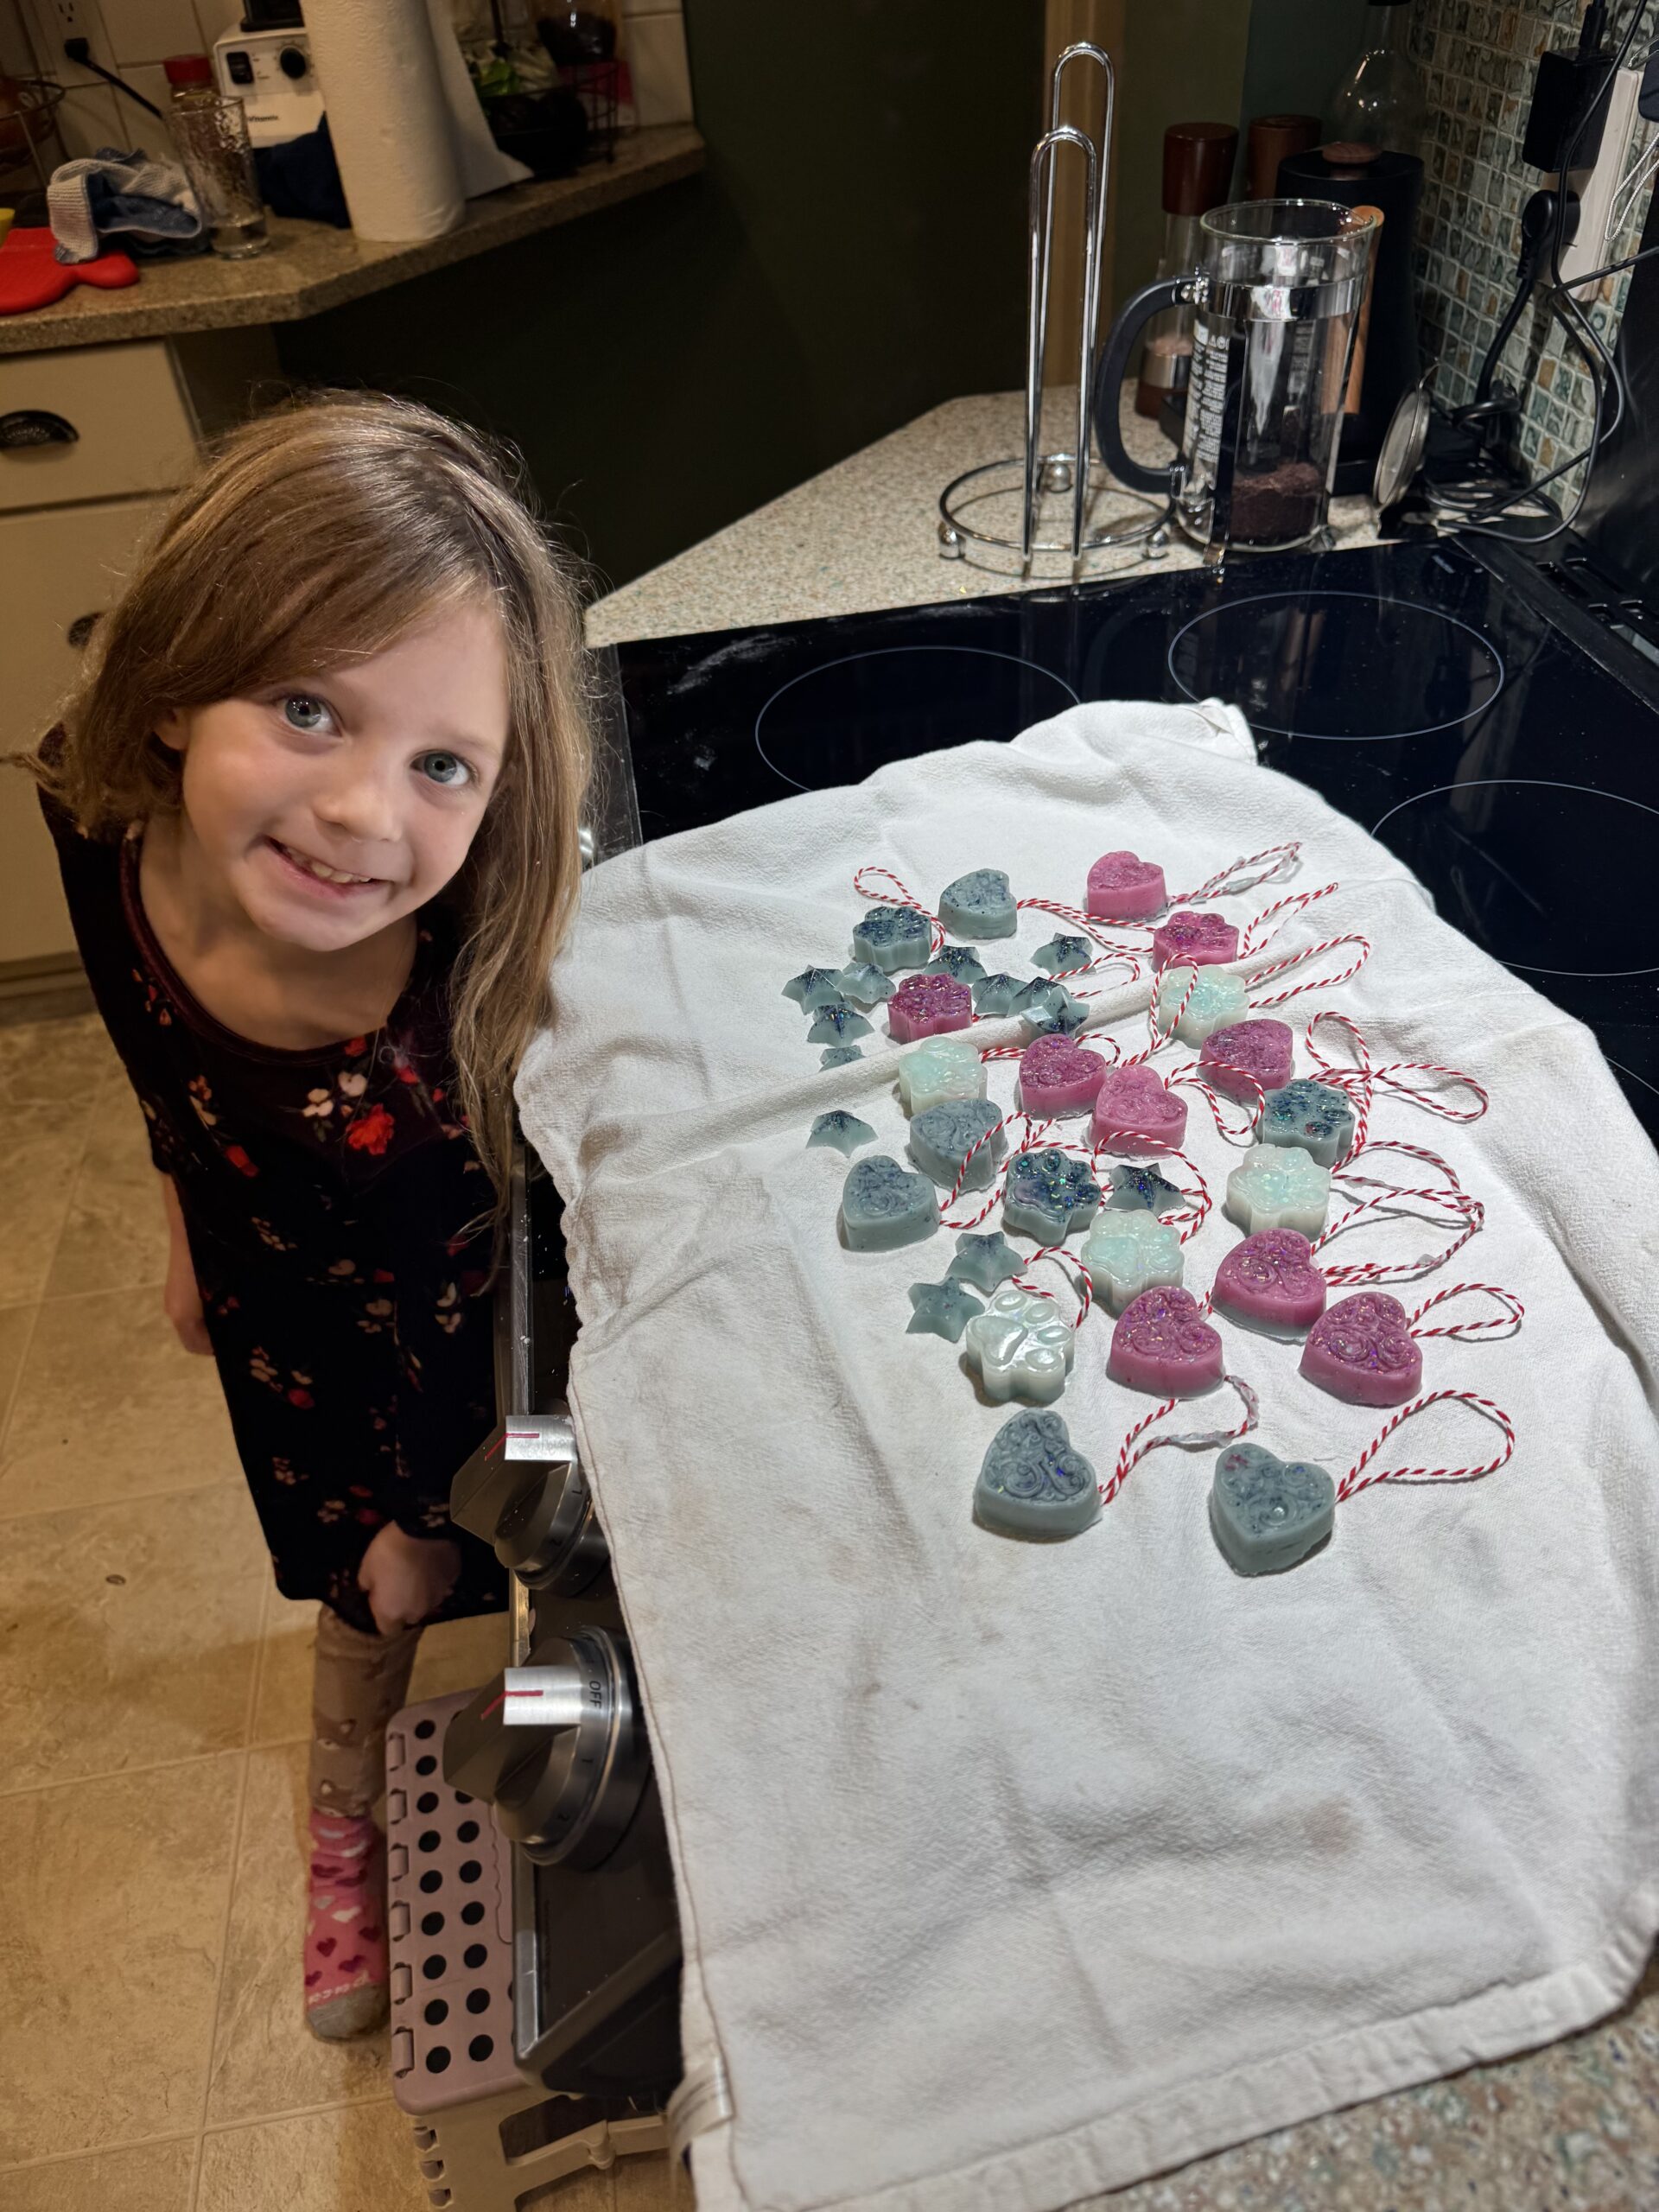
This week my kid was home from school due to some inconveniently timed doctor’s appointments, so we had time to get messy and make a pretty intricate Valentine’s Day craft so she could give a little something to each of her classmates.
This was messy and time consuming! This is not your quick craft! However, it turned out amazing! So if you are like me and you’ve been stuck indoors in lots of nasty weather, you might want to look at making beeswax Valentine’s as a fun activity to occupy your kid.
I went to post this on Insta, but realized I didn’t have the space to explain how to do it. I already did a post about Valentine’s Day children’s books to give as gifts, so why not post about this?
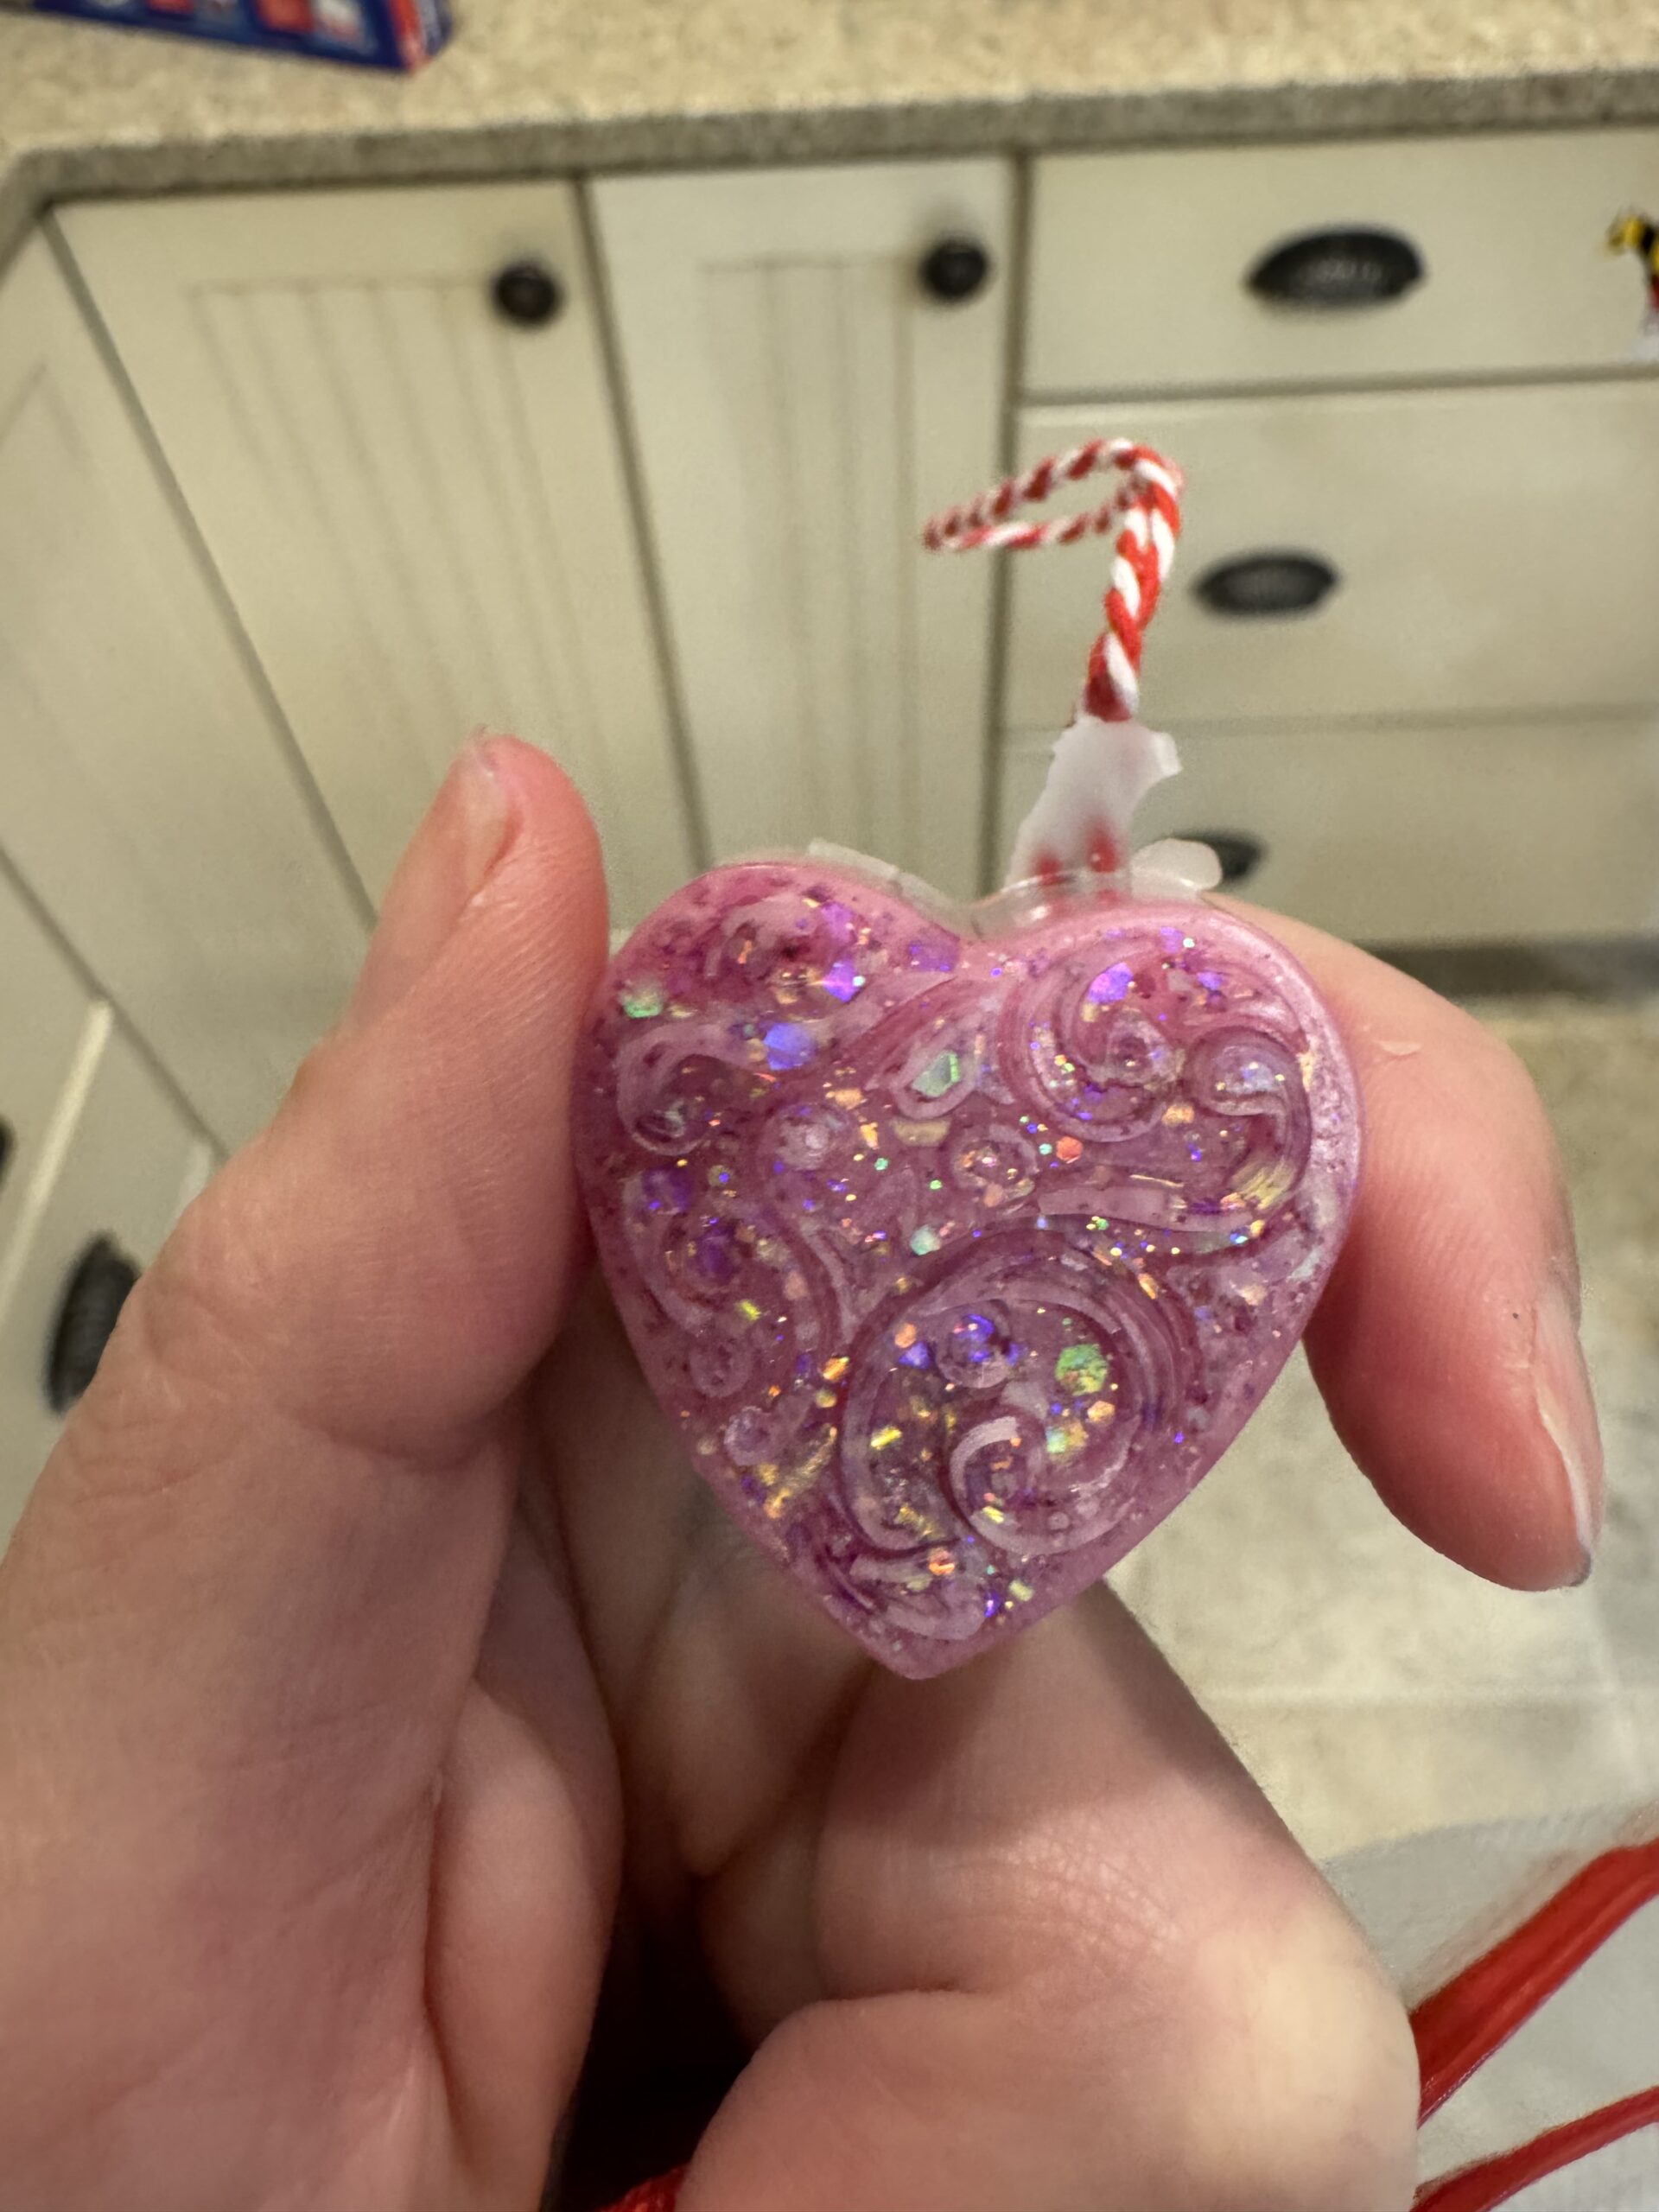
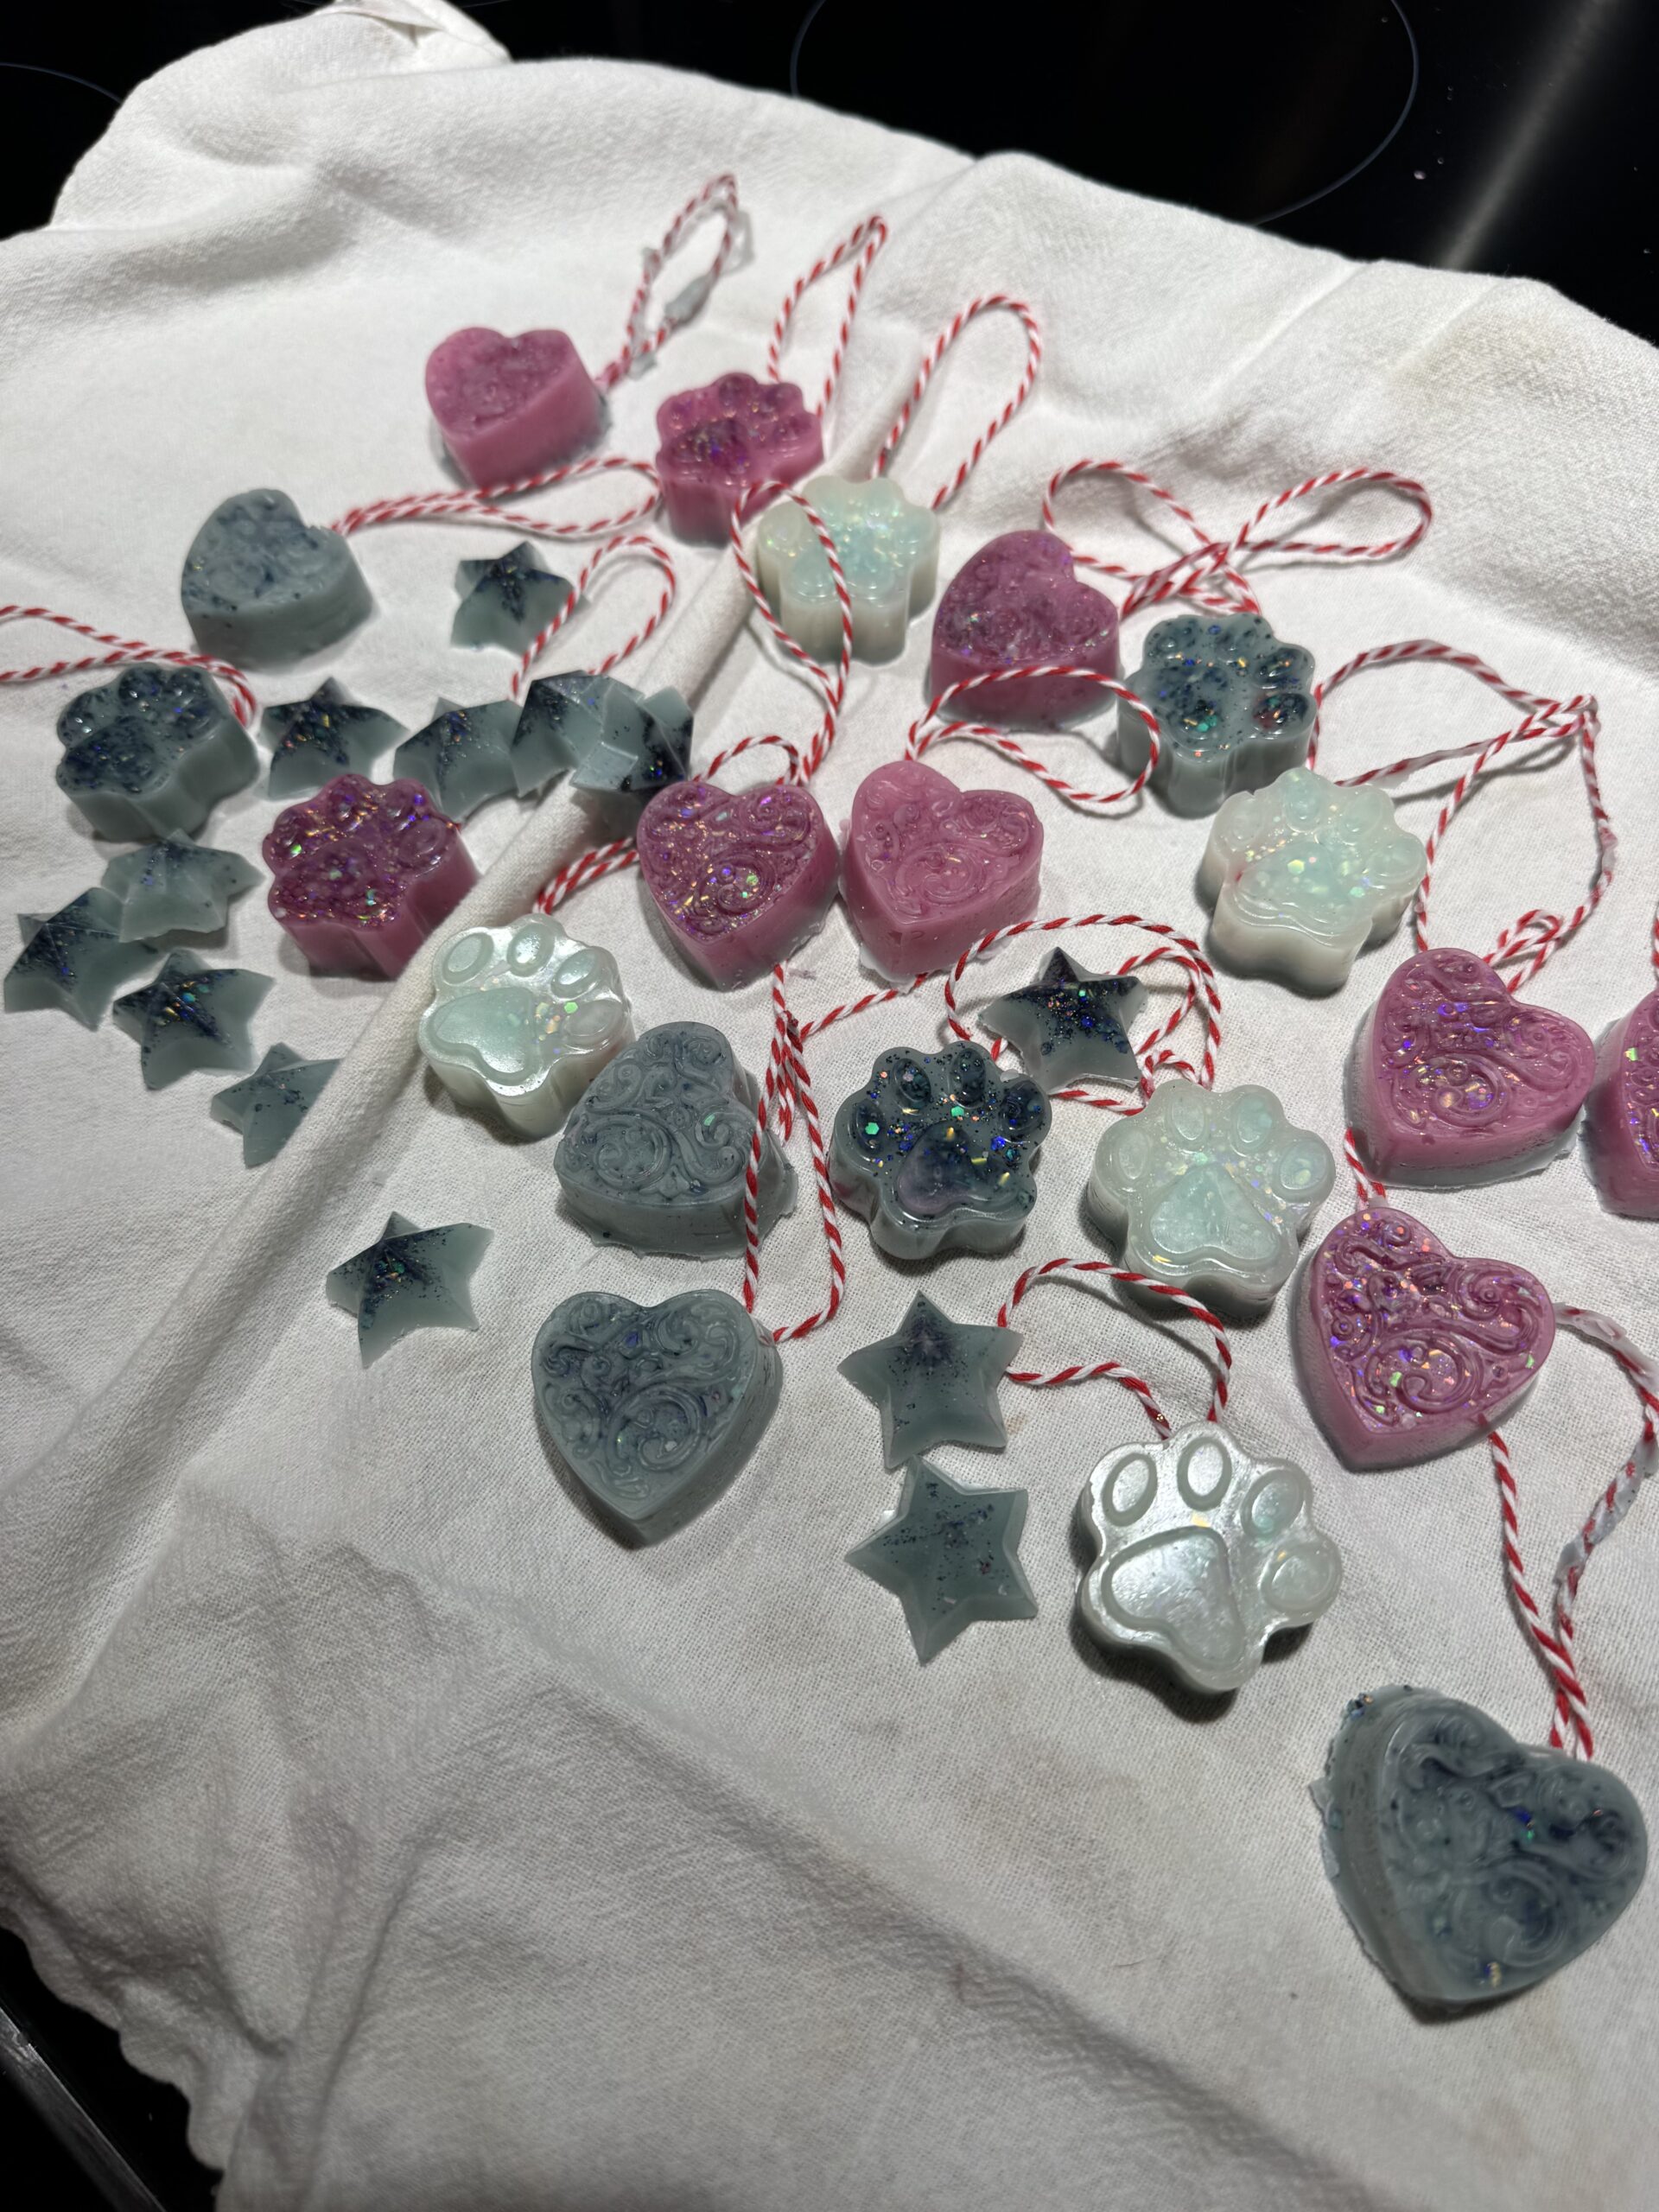
Here’s the end product:
And here’s how to make them! Note: I am using affiliate links for supplies.
Materials:
Double boiler–I use a glass pyrex bowl on top of a sauce pan. It sounds fancy but it’s not that hard.
Beeswax pellets–we had a little less than one bag and that was plenty to make 20
Candle dye–in the past I’ve also mixed/melted broken crayons in the batch, but if you did want to make an actual candle while doing this craft, you could do that if you use candle-safe dies. The kit linked here includes some wicks as well, and we made a candle for Ava’s teacher in a Oui jar. If you wanted to collect those jars and make candles for a whole class, you’re going to need a lot more beeswax, but you’d definitely be the Valentine’s Day VIP for the class. I have also done Valentine’s Day crafts made entirely out of broken crayons in the past, but whew, I am not spending hours peeling paper off crayons ever again.
Silicone molds–I think I must have gotten the molds we used for this in-person somewhere, so I’ll link to others. I’ve bought these before and they’re very cute: unicorn molds. You only want these to be an inch or so; anything that’s advertised as an ice cube mold is probably about the right size. Hearts are an obvious choice; if these aren’t the exact ones we used, they’re very cute. I would definitely recommend using something that’s more intricate on the bottom. Paw prints are adorable too! You could probably do some sort of dog treat in these for your canine Valentine’s! Note that beeswax is very hard to clean and I would not rely on being able to use these molds for food again after this.
Glow-in-the-dark glitter: Look, you’re already going to be making a giant mess, so why not add glitter?
Parchment paper: Use for mess control!
Vinegar: I used vinegar to help clean up the beeswax. Pro tip!
String/twine: These Valentine’s Day crafts can be turned into ornaments! Who wouldn’t want a heart to put on a tree? Any string/twine/ribbon will do. Red and white twine is super cute though.
Here’s how to do it! And no…I don’t have step-by-step pics…my hands were so full!
- Make your ornament strings. If you’re adding strings, make those first and put them to the side. I have a trick for cutting a lot of short strings. If you have large hands, you can wrap string around your hand as many times as you need strings. Then one cut and you’re done! We then tied the strings into loops by making one knot.
- Set up your double boiler. Put a cup or so of water in the bottom of a sauce pan and get it to simmer/boil. Put a pyrex or other heat-safe bowl on top.
- Melt the beeswax in the bowl. You don’t want it to get water in it. Adjust the water temp so that the beeswax melts slowly and never gets too hot.
- Add the candle dye! It really looks like it doesn’t change the color at all, but when the beeswax dies, voilà, it’s magically colored! We did use a lot more candle dye…like 3 times more…than what the box said, though. If you want to do two colors, you need to do this process twice, but that was a lot of work, so try to convince your kid to do one color, ha.
- Add glitter if you want! In my experience, the candle dye stuck to the glitter so it didn’t really matter what color glitter we used. Colored glitter in uncolored beeswax looks very pretty too! If you want these to look really polished, I’d probably skip the glitter, but I think kids prefer glitter to neatness.
- Pour the melted beeswax into the molds. Put parchment paper anywhere the beeswax might drip and thank me later. I used a ladle. I made a huge mess. There’s probably a better way. Please comment if you know it, ha. If you want these to look neater, don’t fill the molds all the way. It is hard to neatly break off extra.
- Add the strings. If you have more molds than you need, you can only fill half of each mold so it’s easier to position the strings. But we made it work!
- Let it cool. Within an hour or two, our beeswax ornaments were ready! Can’t wait to see what her classmates think!
(We also had some leftover beeswax so we made some stars!)
Leave a Reply